My onsite tips and best practices, Part 2

You know how some sequels take a looooooong time to come out? I guess this is one of those—not quite Top Gun: Maverick (anyone else out there old enough to remember seeing it in the theater??), but here we go…

While I believe these to be practical, I fully acknowledge that most of the tips here are very subjective, much more than the tips in my previous post. So rather than say that I recommend doing these, I’ll say that the following are practices that work for me.

Attire #1: Layer up. Baby, it’s (sometimes) cold inside. Onsites for liquor brands usually happen in a grocery store or beverage depot—both have a refrigerated section, and there’s a good chance the work table will be right by it. Climate control is generally more comfy in department stores and boutiques, but the A/C can be a bit much in the summer. Also, work tables are often near entrances; those get drafty. Ask me what it’s like to write or engrave by the doors when it’s 10 degrees in Chicago. :P

Back in black. Keeping it simple and profesh. Not boring, though—zoom in on the pants and you’ll see they’re sparkly for the holidays. :)

Attire #2: Bet on black. This is a very much a personal preference, for the most part (I have had a handful of events in which a brand/store requested all black attire). I personally find it easier to dress in black. Black is a closet staple. I’ll accessorize with a scarf or brooch to zhuzh it up if I ever feel all-black is a bit plain. Might I look like an employee in some places? Sure, which brings me to my next point…

I like to know some basics about the store and department I’m in. I may not have an employee name tag, but while I’m onsite I know I will be approached like an employee. I take pride in being helpful. Even though I may not be expected to know some of these, I find that they sure help:
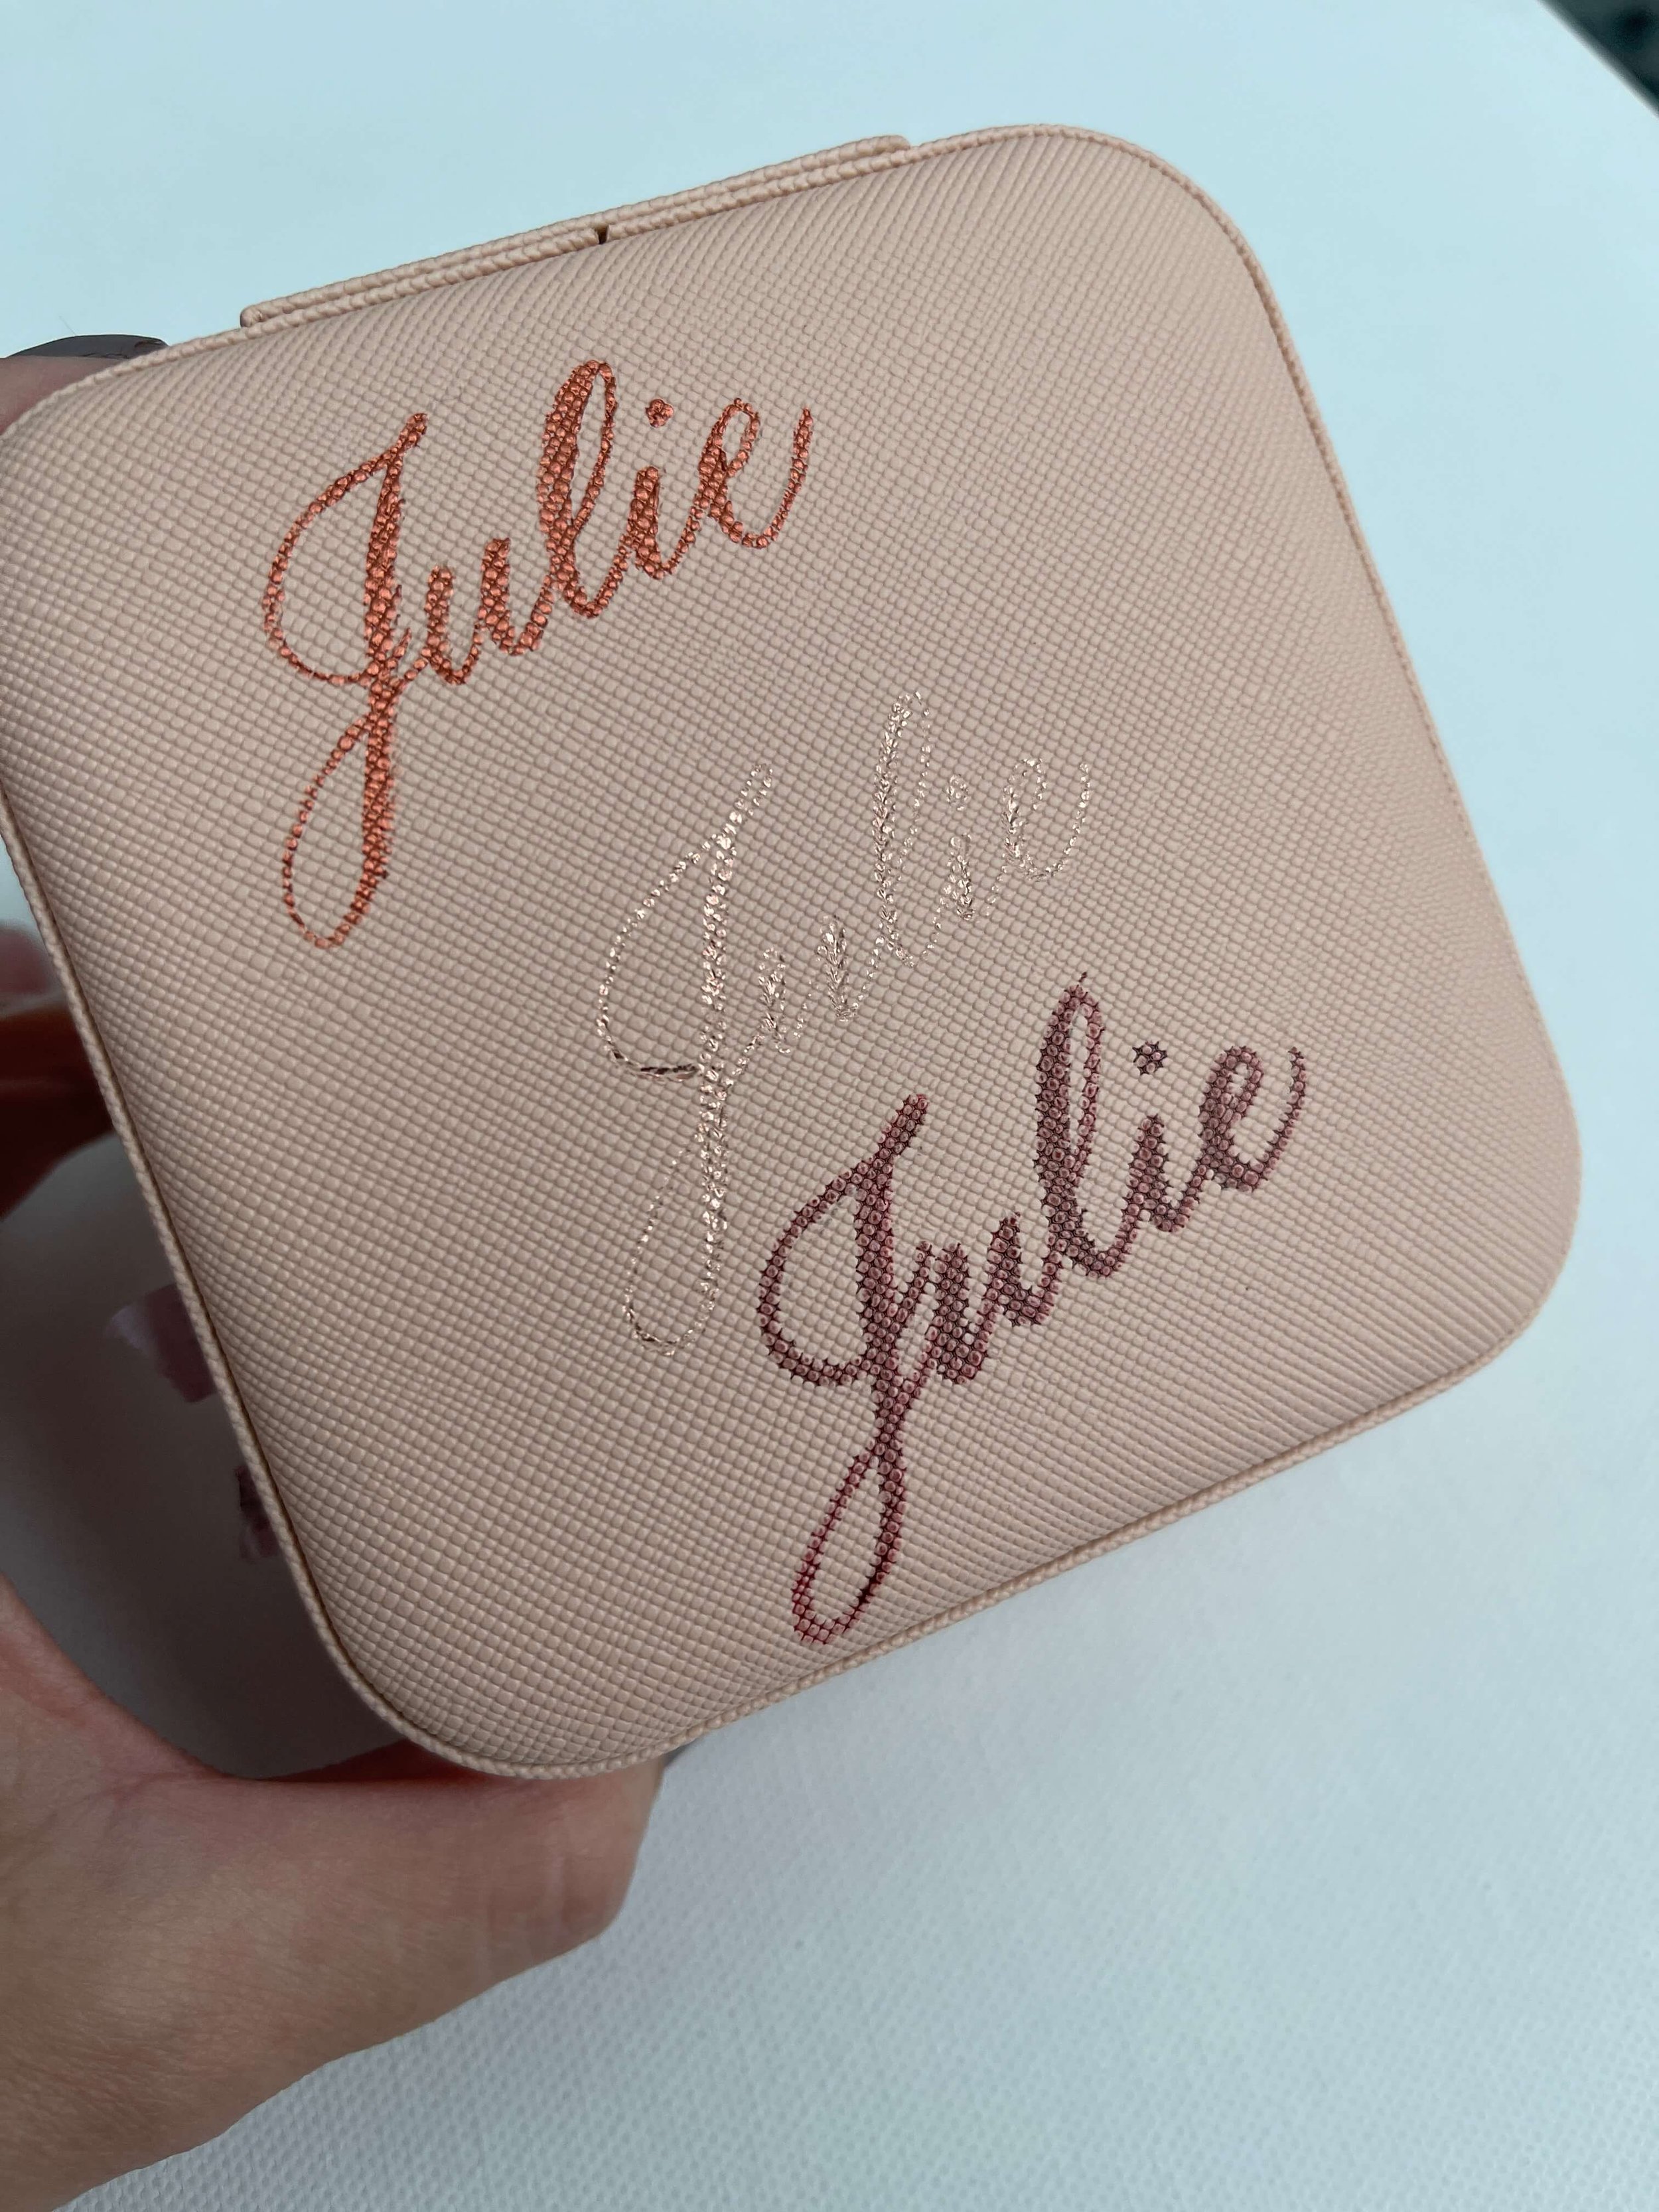
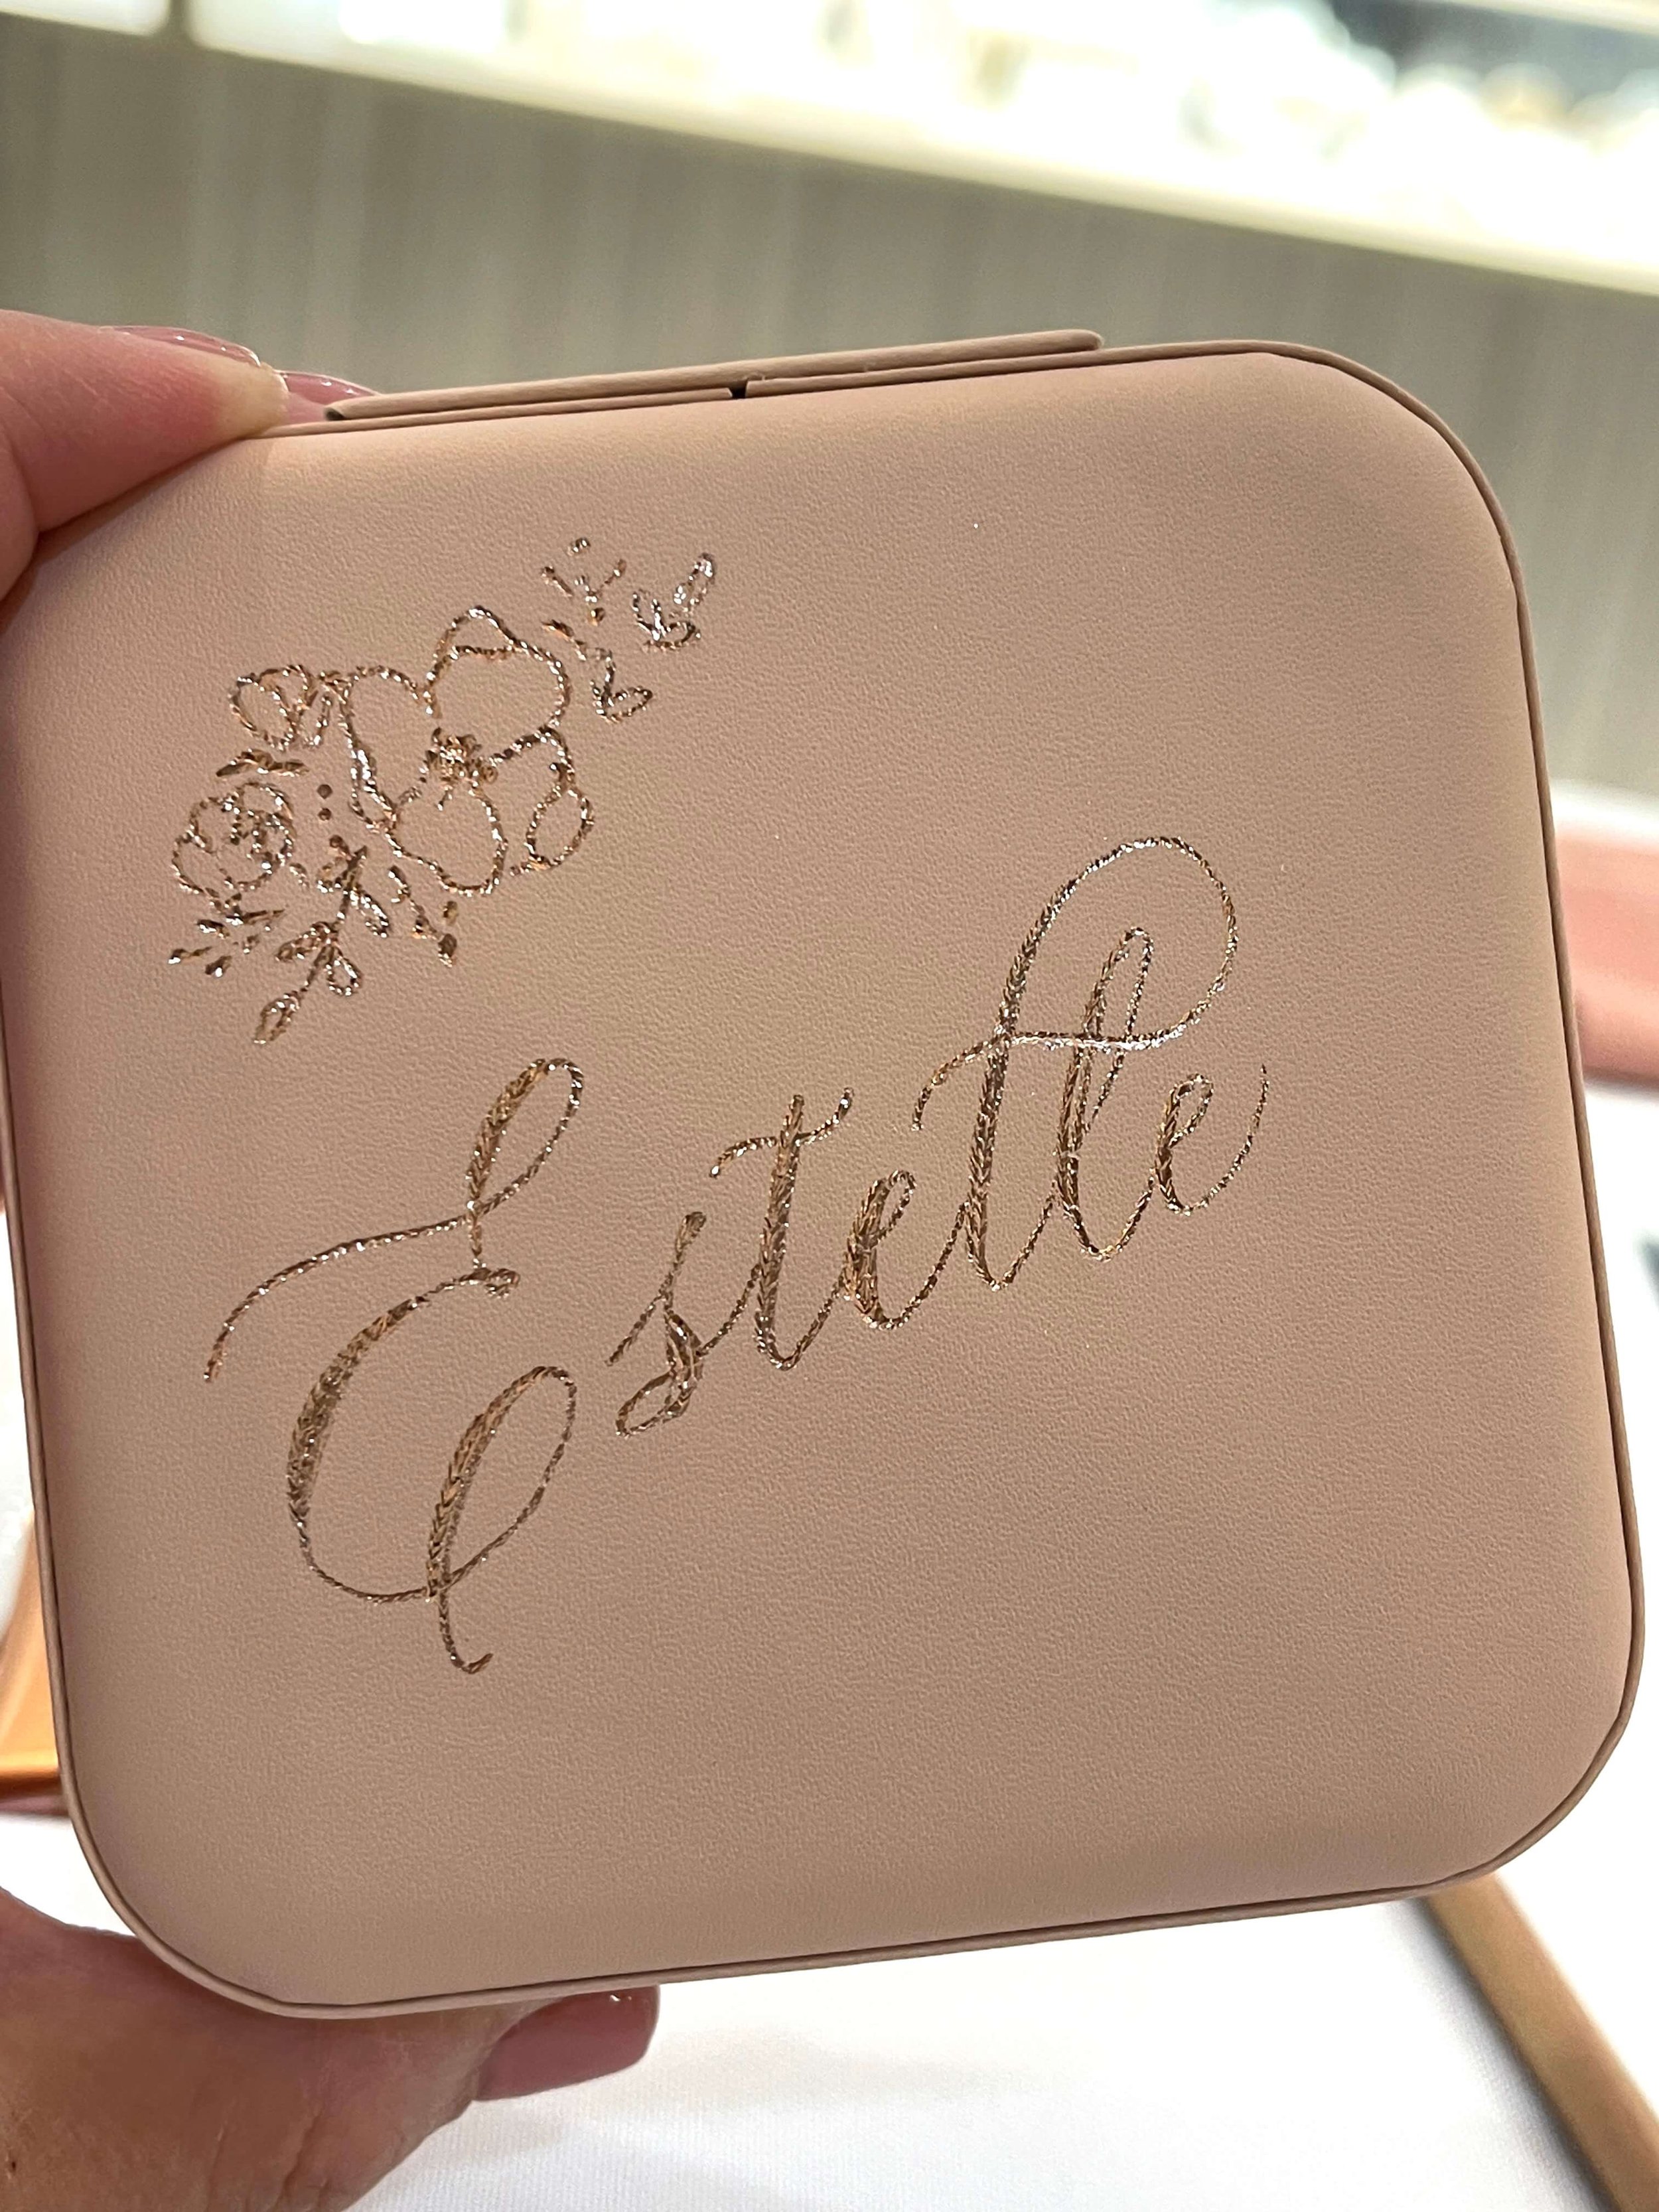
Know where the bathroom is. When I’m working at a department store, I’m almost always asked this at least once or twice. If I’m on site for a long day, I want to know this for myself as well. On a similar note, if I’m stationed in an area of clothing it’s also good to know where the dressing room is. It only takes a minute to get this info, and it saves me from repeatedly saying something like, “Sorry, I don’t know, I’m just a calligrapher here for the day.” (Just…no.)

Know the retail workers on the floor around you. In my experience, most of the workers make this easy anyway; my being there is meant to help them sell. Having a good rapport with other people just makes sense—it makes the workday go by more pleasantly/faster, they can help you address any difficult requests with customers, you can learn more from them about the items you engrave, etc. I enjoy returning to a store for an onsite and reconnecting with some of the workers I’ve met before, and it feels good when they’re happy to see me, too.

Arrive a little extra early. There are several good reasons for this: time to park, especially on busy shopping days; time to set up; and sometimes (not often, but it has happened more than once) I’ll show up and my presence is apparently a surprise to workers in the store. I’ve never been sent home due to any scheduling “unawares”, but I have had to make calls to booking managers after arriving, which takes a few extra minutes to get things sorted out before I can settle in. I’m someone who likes to be in my seat and ready to write by the start time.

Set your boundaries. This is probably the most subjective point in the post. As an artist, you need to know how much you are willing to stretch. For example, if you’re hired till 5pm, at 5pm are you: a) packed up and walking out, b) just starting to pack, or c) taking one last request? For me, it’s option b—it was c once, but let’s just say I learned why that didn’t work out for me. It’s a different and personal choice for everyone.

There are a variety of scenarios that will make you assess your boundaries—in time, in space, what you’re willing to write/engrave, etc. My only advice is know yours, how flexible you’re willing to be, and stick to them (or adjust them) as needed to be at peace with the work you do.

Know where to go…when someone’s gotta go. ¯\_(ツ)_/¯

Bonus: Meet other artists on site if there are any! I love meeting other calligraphers and other artists at events! If you’ve introduced yourself to me before, thank you. And if I introduce myself to you, please know that as happy as I am, I’m also working up some courage to do so (shy extrovert here). There’s a wonderful community of onsite artists out there, and meeting others has made this job as a calligrapher a much richer experience. I have found so many in the community to be a great source of support, knowledge sharing, and even mutual referrals.

That’s it for Onsites Part II. See you next time (hoping much sooner) to complete the onsites trilogy!

My onsite tips and best practices, Part 1

When I started my calligraphy business, onsite events were not on my radar; I envisioned a work life awash in wedding envelopes, place cards, and mirror signs. Over the past few years, though, onsite gigs have steadily taken up more of my work portfolio. I’ve been through enough onsites to refine my process for future gigs.

I’m excited to share some of the things I do to prepare for onsites. My tips will be split over two three posts, which cover these general areas: 1) tips that help me as a lettering artist, 2) tips that help me as a general worker/human on site, and 3) what I pack**. This post will address #1. So let’s do this…

Stick to 1 or 2 lettering styles, tops. Onsites can get very busy, very quickly. When a line of requests starts to build, you don’t want to spend precious minutes going through the lettering options with everyone, only to hear most say, “I don’t know, you decide,” most of the time. Plus, it’s easy to get tripped up when you switch between styles quickly—which is why, if I’m prepared with 2 scripts, they’ll still be a bit similar in letterform.

A modern block font is great for a monogram and pairs well with a classic script on this engraved Gucci Guilty, a Father’s Day gift.

Use both sides on a bottle like this Chanel Chance for maximum impact. Here, the name is engraved on the front, and the flowers are on the back.


Determine lettering style(s) ahead of time based on the event’s details. A little research can go a long way. Some things to consider:
What’s the event? I have what I call my “default hand”, or go-to style, for any event; but I’m likely to get more “flourishy” for something like Galentine’s Day and keep it simpler for Father’s Day stuff (a nice block/sans serif font may be good to have in your back pocket for those).
What are the products being customized? If I’m engraving for a specific brand, I browse their line of products. Some things I look for: bottles with little real estate for lettering, best spaces to letter around a label, fragrances with back-of-the-bottle potential, items with surfaces that might not be engraving-friendly (more on that later on). Knowing these things can help avoid hiccups, and maximize the impact of the lettering done.

Get or bring samples. I like to ask for samples at the event. In my experience, many retail workers have been happy to bring tester bottles or cosmetics for me to work on. This is great for several reasons:
1) Customers can see your work.
2) It can help the salesperson make a sale—it’s easier to sell “free engraving” when *see #1 above*.
3) Sometimes traffic is slow—working on sample bottles has kept me busy…and being in the act of calligraphy or engraving draws more customers than just sitting there does.
4) It’s an opportunity for more practice.

Also, you can bring your own samples (blank, unbranded items) for display purposes. If you’re working for a brand and happen to have one of their products, bring that along if you like. (Confession: I fell in love with Gucci Flora and bought my own bottle after an onsite; I engraved it and brought it to every Gucci Beauty gig since.) Make sure to label your own stuff, though, so people know your bottle isn’t a tester.

Lastly, but perhaps most importantly, get product samples ahead of your event whenever possible. It may not happen If you’re personalizing a variety of items for a luxury brand (I certainly don’t expect freebie perfume or wine bottles, ha); but if you’re working on gift-with-purchase swag, like tote bags or gift boxes, this could save you! Below are a couple of photos as an example—the photo on the left is a travel jewelry case a client sent me in advance of their Galentine’s Day event. You can see several issues came up, such as hot foil not sticking and bleeding ink; the texture of the box wasn’t friendly to these mediums. Since the client really wanted to have hot foil lettering as an option, they ordered the jewelry case in a smooth faux leather finish instead (pictured right), which worked out MUCH better!

Spot test before giving it a go. This is particular to engraving, especially on bottles with a painted or coated finish. Some bottles appear to be colored frosted glass, but are actually coated with a delicate, easy to chip paint—it’s scary to find this out after the bur touches the bottle, in the middle of engraving a word...and a hairline is marred with a scratchy looking blob. Ughhhhh. My shoulders still tighten thinking about it. Lesson learned. When I’m not sure about a bottle’s surface for engraving, I engrave a little dot or dash on the bottom, just enough to feel it out and see if there’s chipping. If there is, I go to a backup medium (often a paint pen) and let the client know.

I can say with confidence that most of everything I shared here was learned through trial and error. Probably more error than I’d have liked, but them errors sure are effective teachers! :P

That’s it for now. Let’s chill till the next episode…when I share more tips (non lettering-related) for onsite gigs.

**This bit was originally planned to be included in this post, but grew long enough to create Part 3.


Biting my truant pen: my first blog post

Me, in Paris, not biting my pen.

Hello there, and welcome to my blog! This is something I’ve had on the to-do list for over a year—as well as my “likely never” list for about 5 years before that…now here I am. ¯\_(ツ)_/¯

So what can you expect from the blog? Well, this will be a space where I share a variety of musings from my 7+ years of practicing calligraphy (5 of those as a business): tips, best practices, learning experiences, deeper dives into IG posts, etc.

What might you expect? Maybe an occasional pop culture reference (probably one that will date me, I’m on the X side of Xennial), and explanations based on my zodiac profile.

What not to expect? A regular posting schedule, at least for now. That’s the Sagittarius in me. (What’d I just say about my zodiac profile?)

So that’s my blog intro in a nutshell. Before I wrap this up, here’s the story behind the title of this post: “Biting my truant pen” became a favorite phrase of mine to use in calligraphy classes (as a student), when I’d get to practice writing a quote of my choice…and had no other ideas. The words are from “Astrophil and Stella, Sonnet 1”* by Philip Sidney, which I discovered in an old leathery book at the library the wrapper of a chocolate bar:
Biting my truant pen, beating myself for spite,
"Fool," said my Muse to me, "look in thy heart, and write."

So write I shall. And write I did. Finally.

Thanks for reading! I hope to see you again soon with my next post—tips for onsite calligraphy and engraving work!

Cheers,
Nerissa

*The sonnet is much longer than what’s quoted here, and it’s a very lovely piece (IMO).